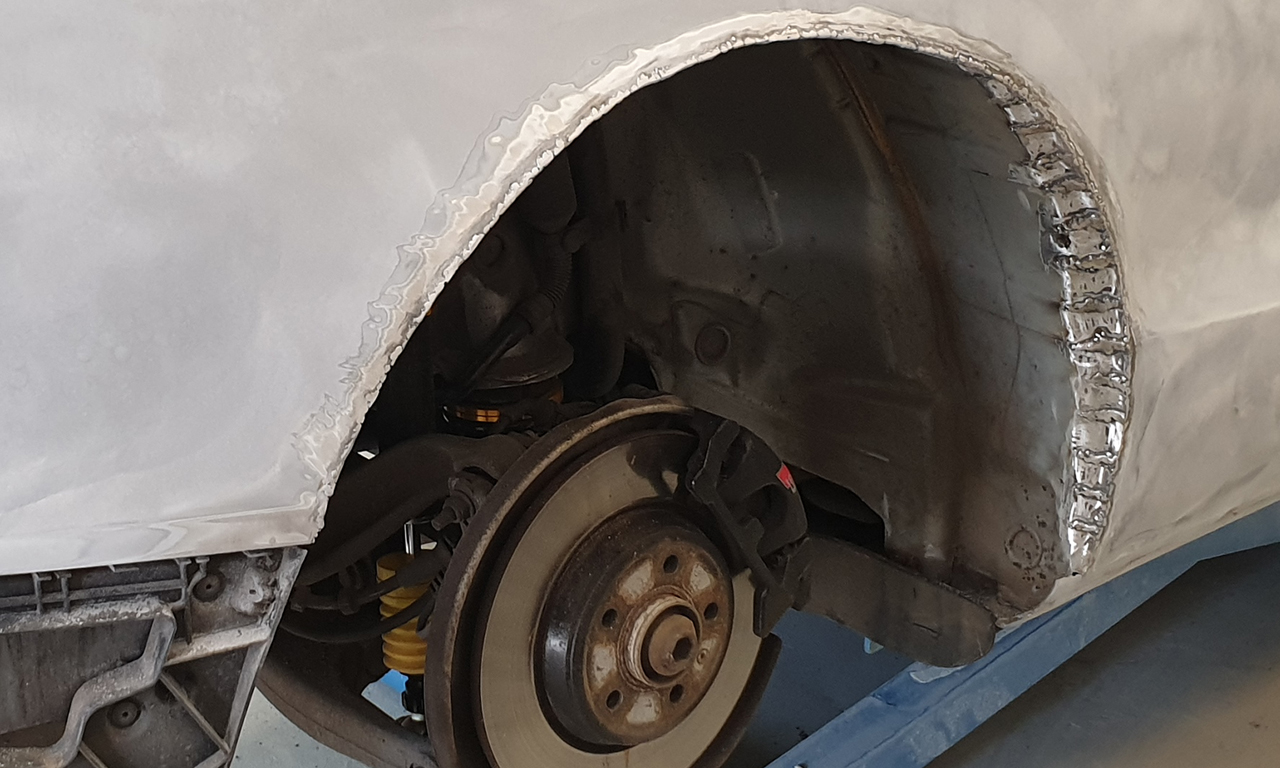
This one is the most problematic case for most of our customers. While cutting the rear quarters may sound horrible and irreversible, it’s in fact a quite fast and easy job to do (of course if you know what’s the purpose of this treatment and how to do it!). Before we head over to the whole cutting process, let’s first discuss what’s the purpose of such interference into the car’s chassis.
Cutting out the rear arches
Why do I need to cut the rear quarters of my car?
Simply said. Cutting out some parts of the rear quarter panels is a must if you’re willing to go widebody. When you extend the car’s body, you most likely want to extend the car’s track width by applying a lower offset, wider wheel. In most cases, you also change the car’s suspension (lower the car with a coilover suspension, do a virus to the OEM pneumatics/hydraulics, or install an aftermarket air-suspension). When you want to combine all the above-mentioned things, wheel arch clearance is one of the most important things to remember while building up your project car.
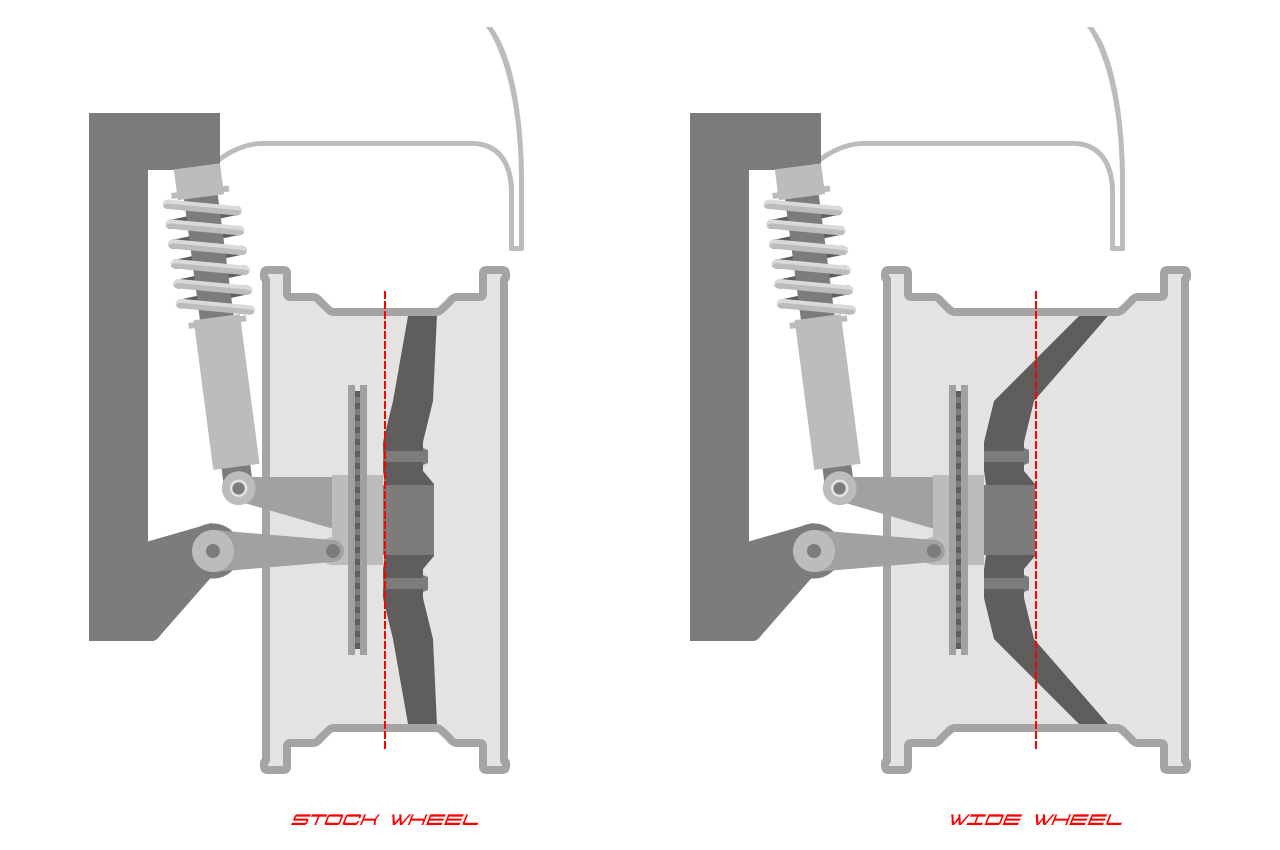
Without the widebody, the new wheel would probably poke out a few inches outside when compared to an OEM wheel. With so much poke, it would damage the original fender. This is why we need to cut some parts of the old one. Figure 1 illustrates the problem.
Cutting out the old arch
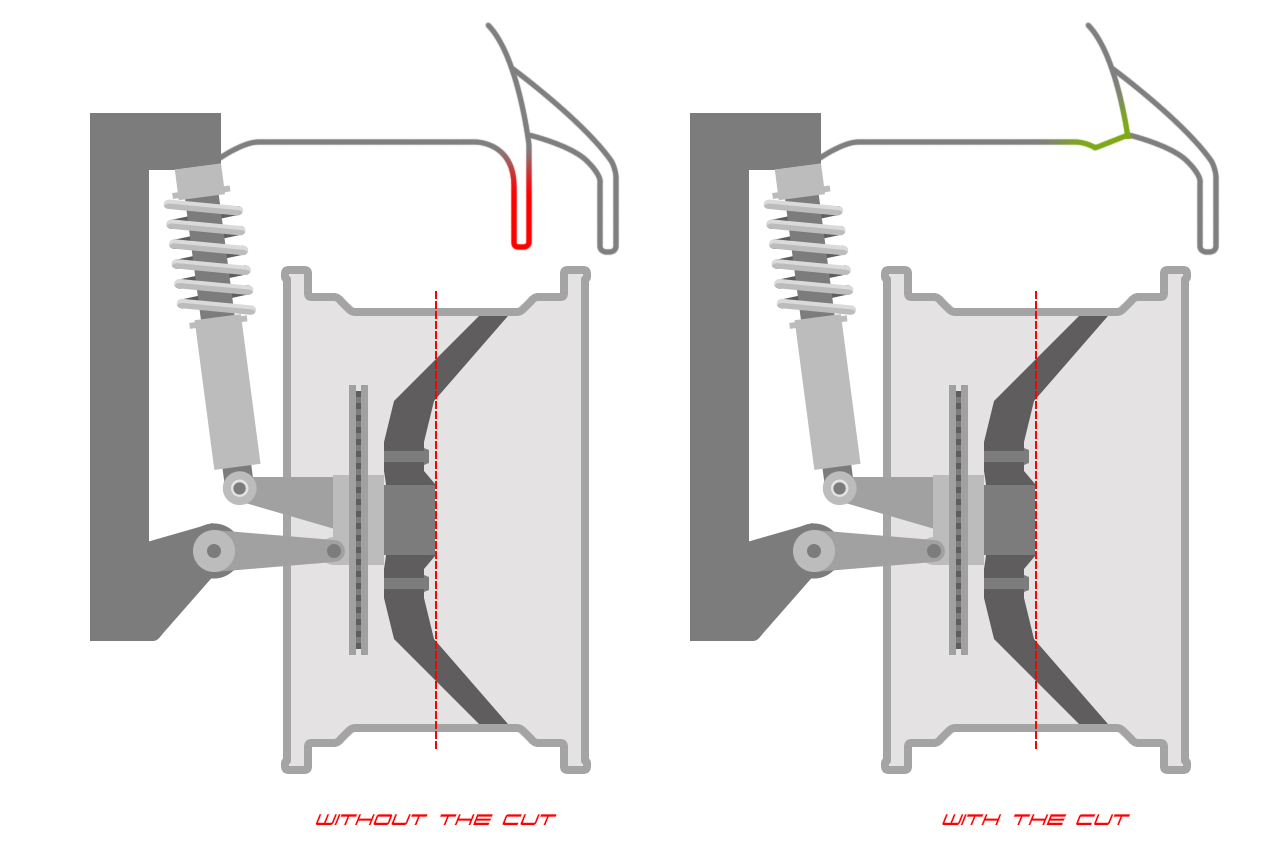
Before you start to cut, dry-fit the new fender arch, you’ve received with the rest of the body kit. By fitting it to the car’s body, you will know exactly how far you can go with the cutting of the original profile. In most cases, it’s usually around 3 inches. When you will start to cut, take your time. Don’t cut out everything in one step. It’s often best to repeat the cutting process a few times and to test-fit the fender flare after each cut to ensure that you didn’t overdo things.
When you will open the profile of the quarter panel, first cut out the material from the profile’s outer side (one that’s visible) and leave yourself some metal from the back, inner wall – you will use it in further steps to close the profile back. Figure 2. shows the purpose of cutting out the original part of the rear quarter.
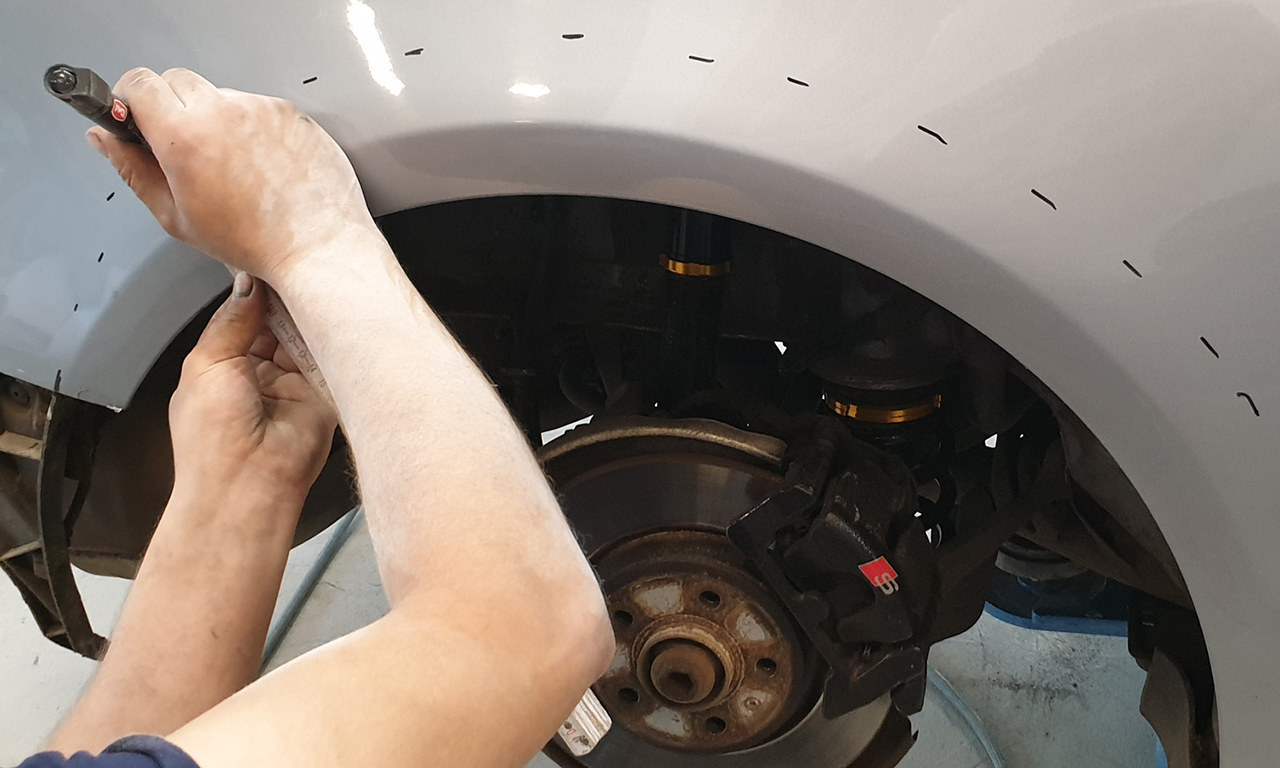
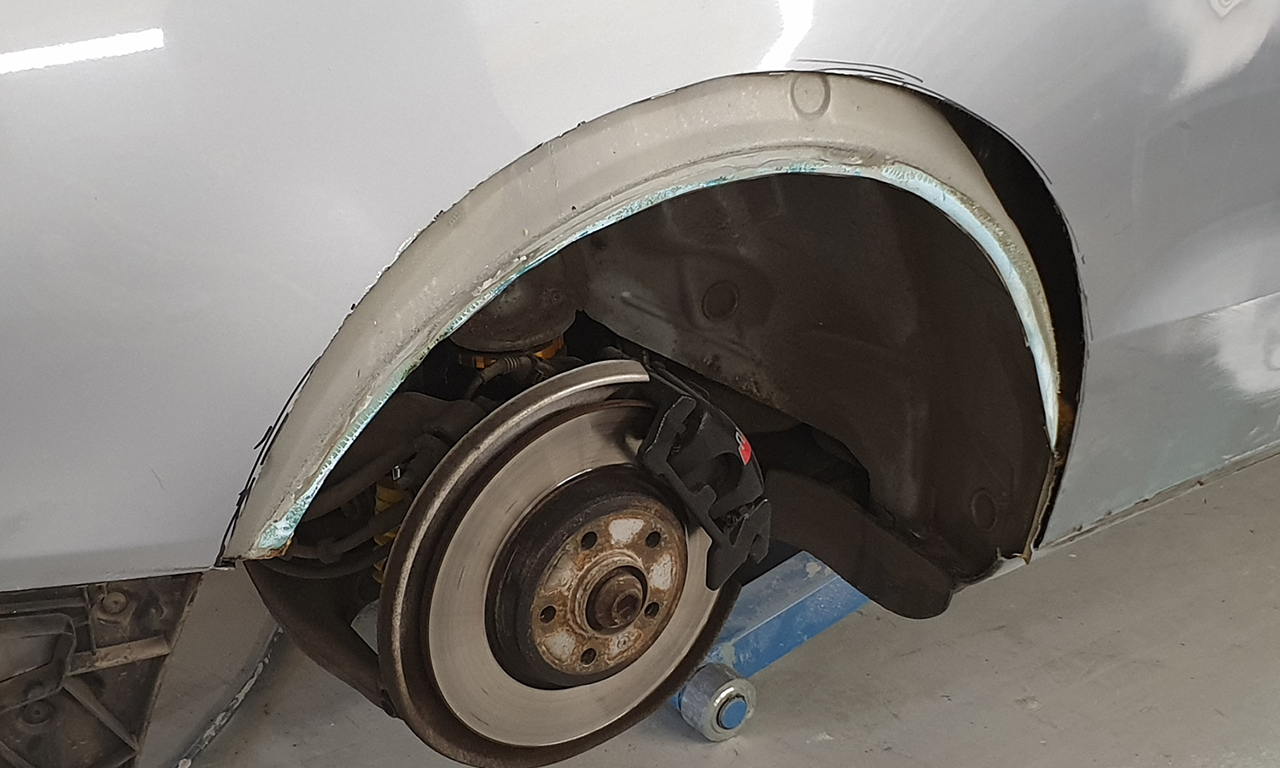
We hope that the process was described to you in a friendly and easy to understand form. We are aware that sometimes an image can say more than a thousand words. This is why we decided to attach a few pictures just in case you wanted to see how did the process look in real life. In case you got any other questions, feel free to contact us via one of the many contact forms across the site.
